- Introduction
- Setup
- Generating Mails
- Sending Mails
- Custom Headers
- Mail Servers
- Email Attachments
- Plain Text Emails
Introduction
IHP provides email sending functionality via the ihp-mail package. It’s built on top of the mime-mail Haskell package.
Setup
To use mail functionality, you need to add ihp-mail to your project dependencies.
Add ihp-mail to your flake.nix file:
haskellPackages = p: with p; [
    # Haskell dependencies go here
    p.ihp
    cabal-install
    base
    wai
    # Add this:
    ihp-mail
After adding the dependency, rebuild your project with devenv up or restart the development server.
Generating Mails
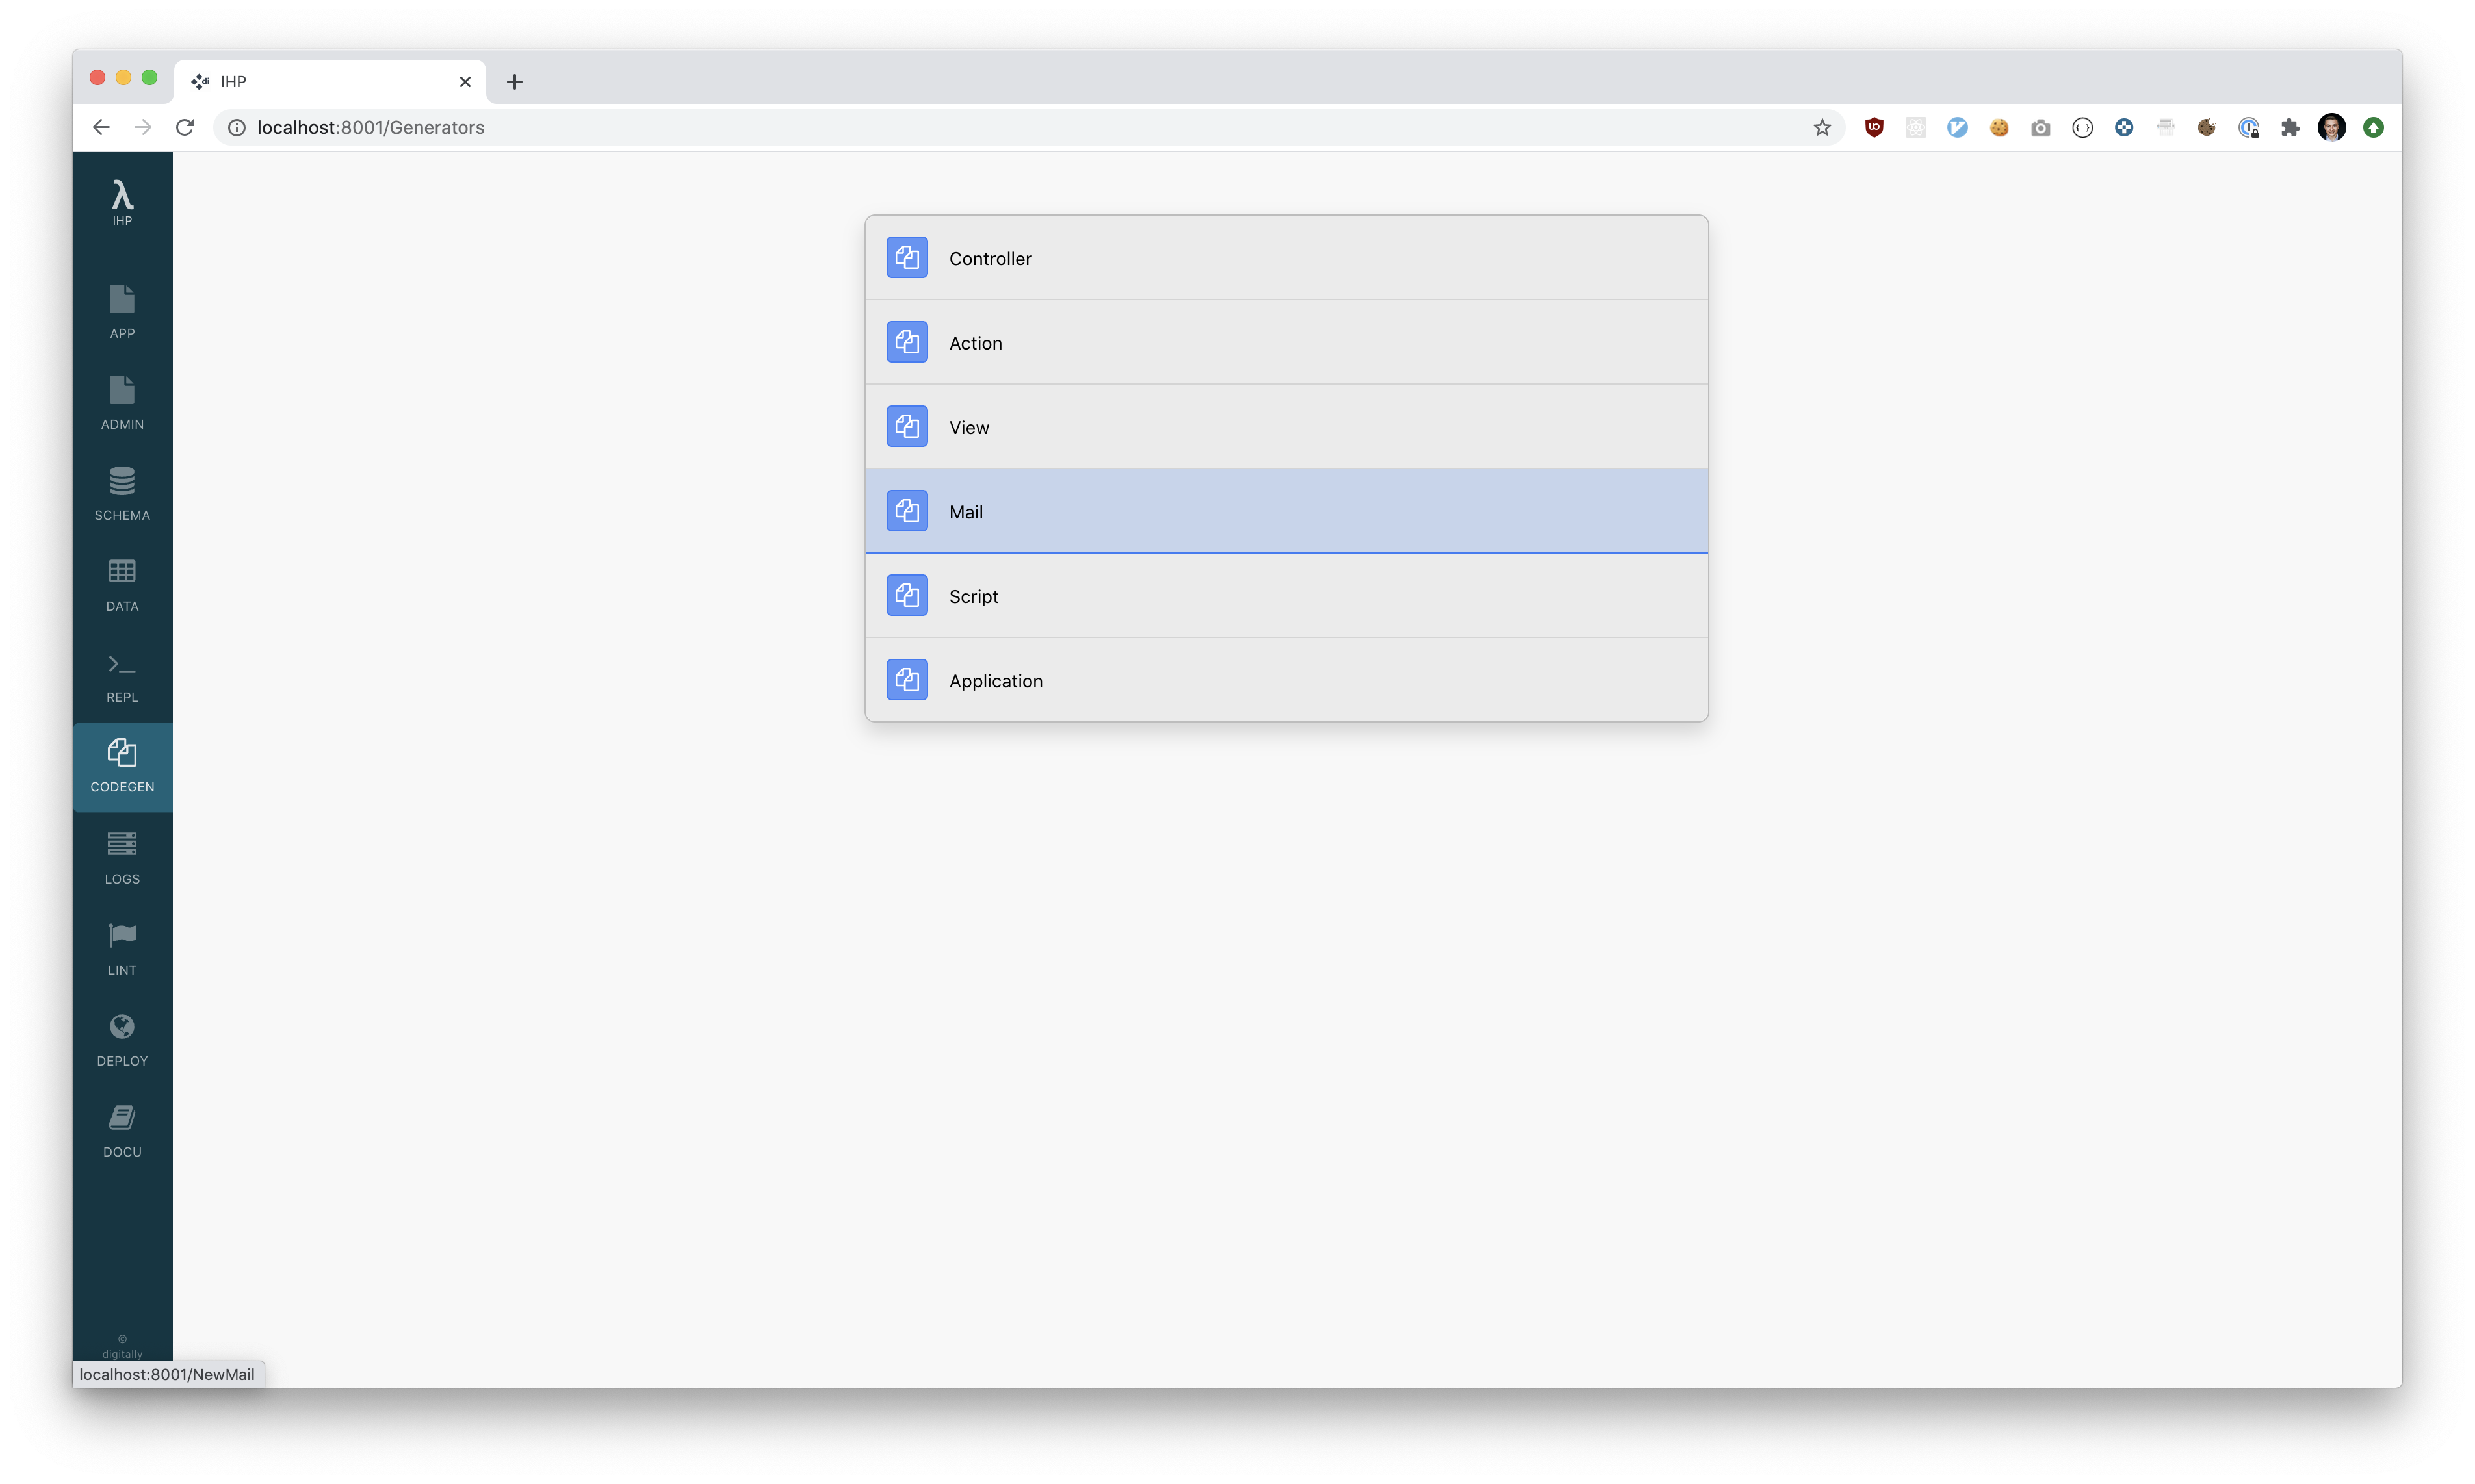
To send a mail we first need to generate a new email template. For that open the Mail Code Generator from the development tools.

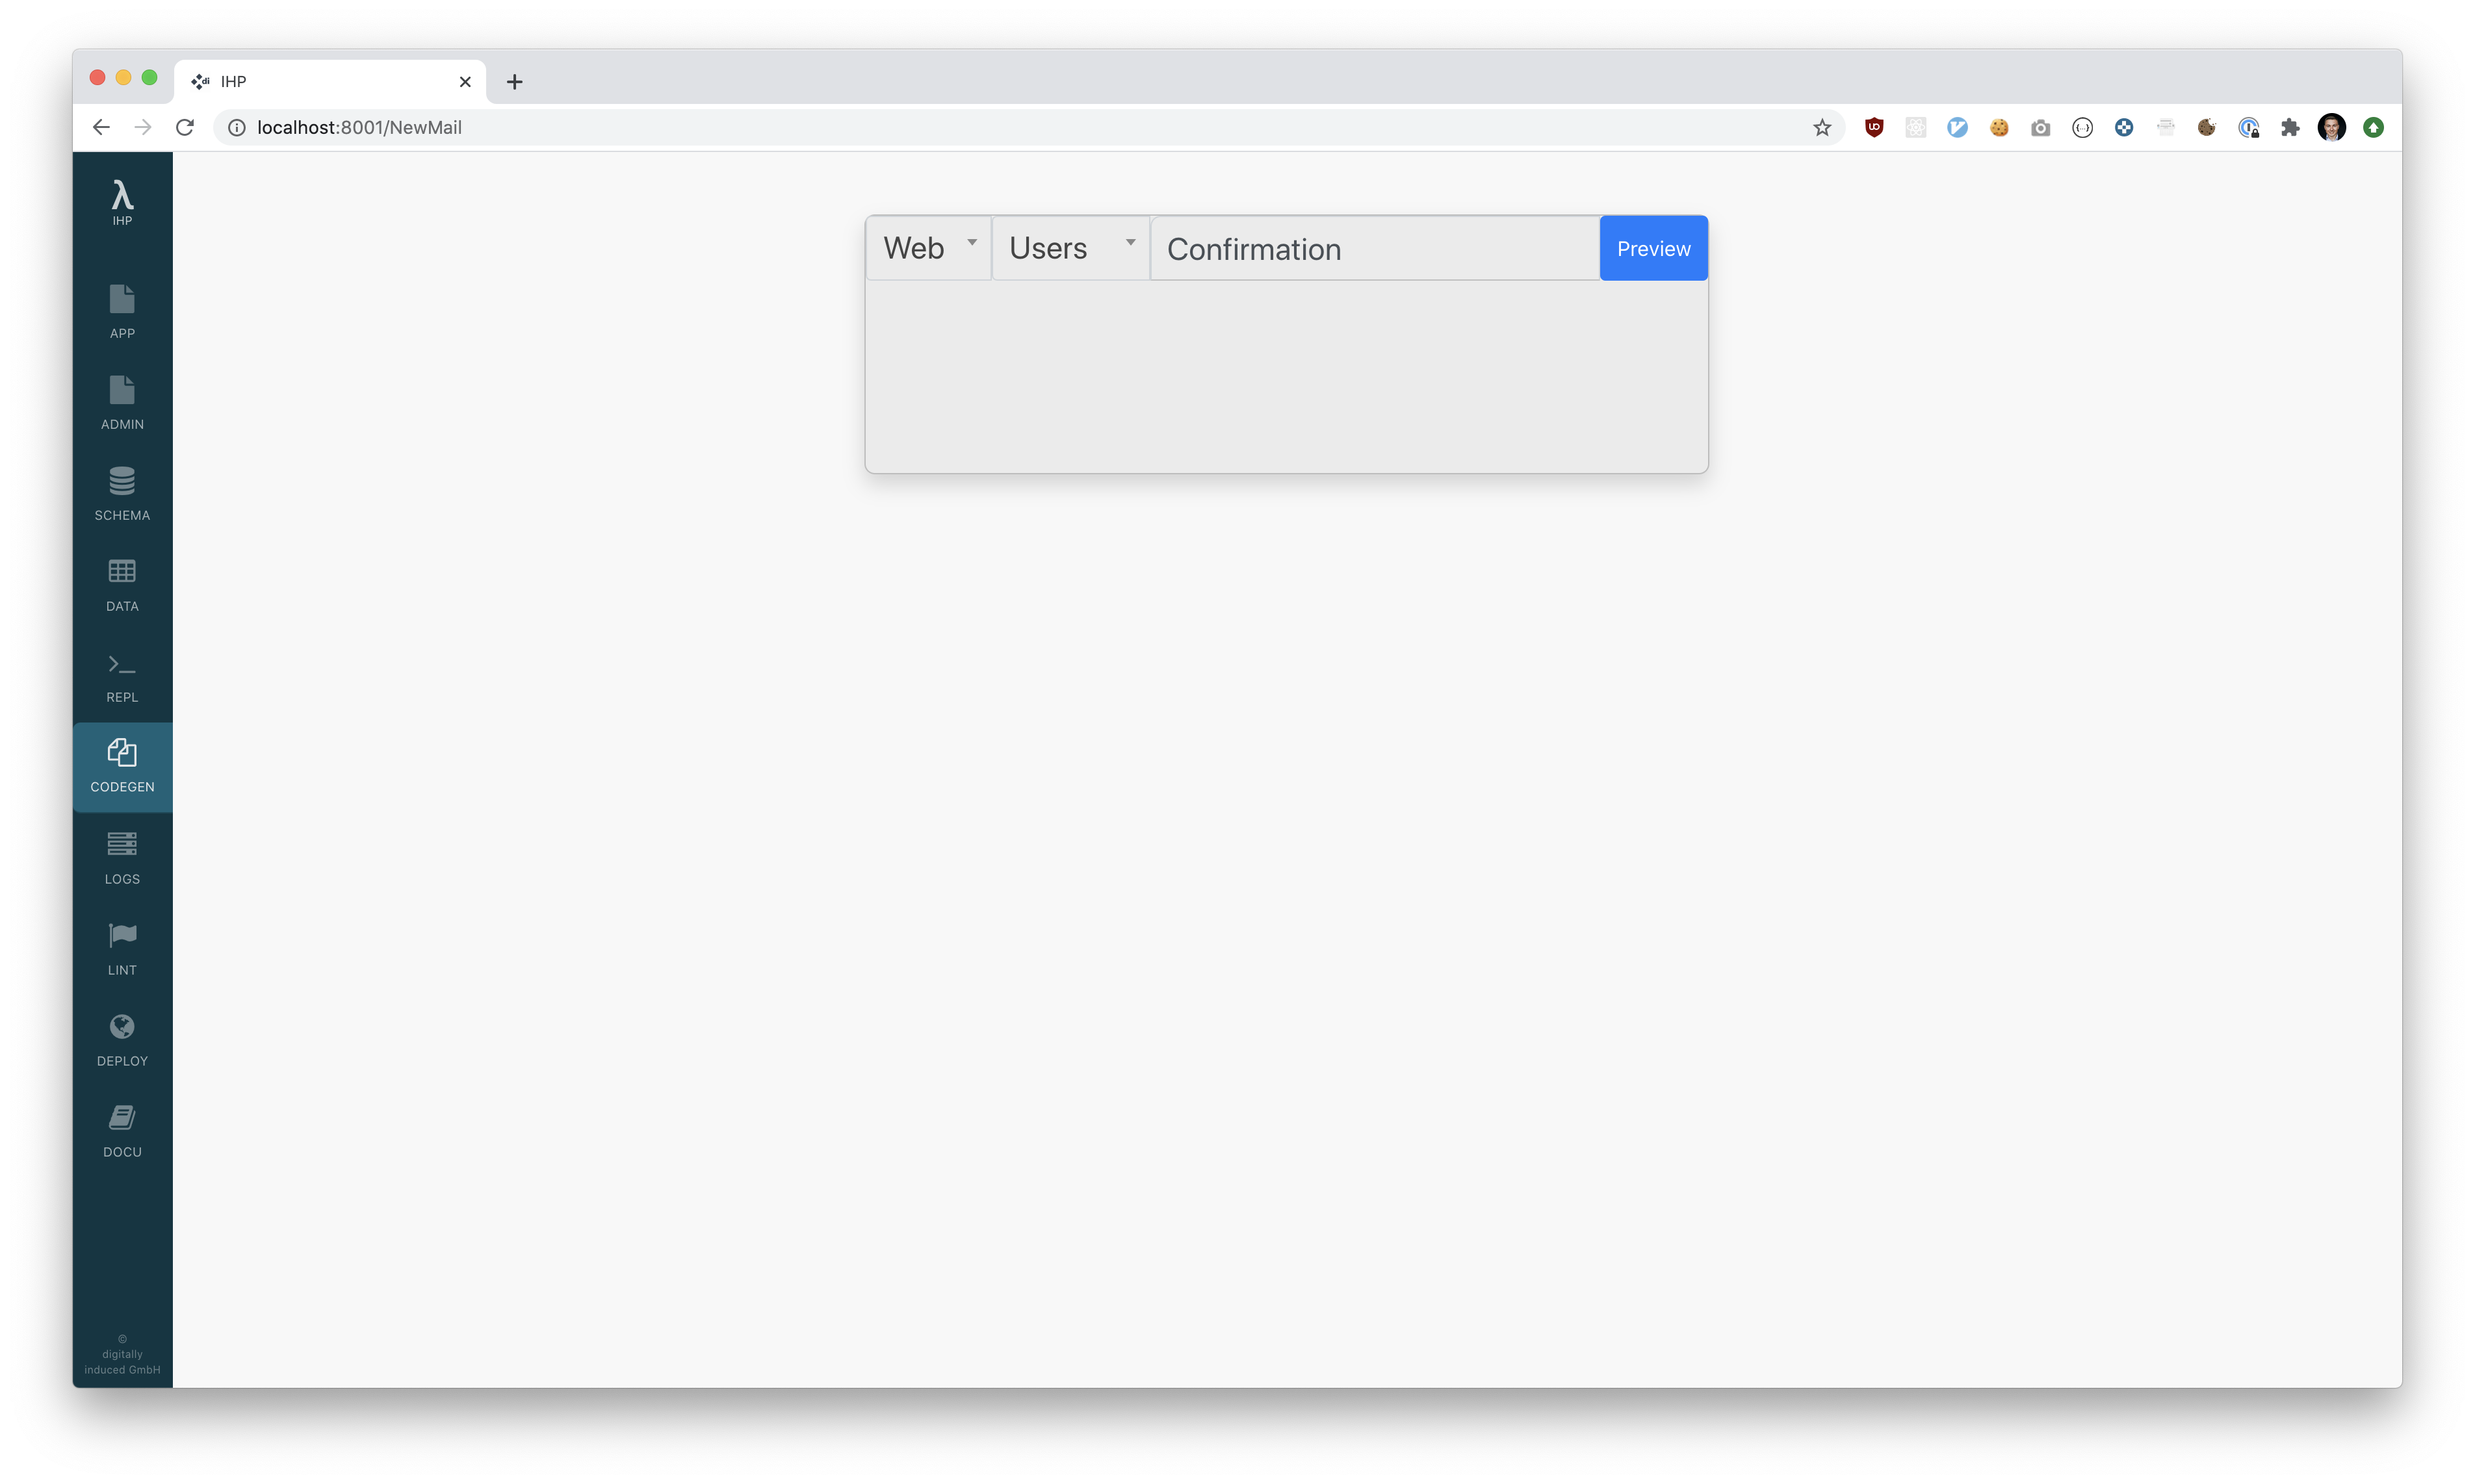
Inside the code generator, we have to pick a controller. For our example, we want to generate a confirmation mail to send to new users after they sign up. Therefore we select the Users controller from the drop-down. We want our mail to be called Confirmation mail, so we enter this into the text field:

Click Preview and after that confirm by clicking Generate.
This will generate a new email template at Web/Mail/Users/Confirmation.hs:
module Web.Mail.Users.Confirmation where
import Web.View.Prelude
import IHP.MailPrelude

data ConfirmationMail = ConfirmationMail { user :: User }

instance BuildMail ConfirmationMail where
    subject = "Subject"
    to ConfirmationMail { .. } = Address { addressName = Just "F L", addressEmail = "fname.lname@example.com" }
    from = "hi@example.com"
    html ConfirmationMail { .. } = [hsx|
        Hello World
    |]
Changing the Subject
Let’s first change the subject of our mail from Subject to something more useful:
subject = "Confirm your Account"
With this change, the new subject is Confirm your Account.
Changing the Email Receiver
We also need to change the email receiver. It’s currently hard-coded to fname.lname@example.com. As we want our email sent to the email address of our user, we use the email field of the user:
to ConfirmationMail { .. } = Address { addressName = Just "F L", addressEmail = user.email }
Because our user has a name field, we can also pass this information to our mail, like this:
to ConfirmationMail { .. } = Address { addressName = Just user.name, addressEmail = user.email }
Changing the Email Sender
The email sender is set to hi@example.com by default. Usually, you want to use your domain here. For this example, we will stick with the hi@example.com for now.
Changing the Reply-To address
By default the “Reply” button in an email programs creates a reply to the From address. You can change that behavior by setting the Reply-To header to another target email address:
replyTo ConfirmationMail { .. } = Just Address { addessName = Just "Support", addressEmail = "support@example.com" }
Email Content
Lastly, we need to change the email text a little bit. The mail supports HSX, so this is similar to writing an IHP view:
    html ConfirmationMail { .. } = [hsx|
        Hey {user.name}, <br/>
        Thanks for signing up! Please confirm your account by following this link: ... <br /><br />
    |]
We can also include links. It’s likely that you’d have a function to return the correct link; for example, after posting a comment, you will send notifications.
Inside Mail we don’t use ControllerContext, so if we have such a function we would need a different type signature. So it could work both from inside Mail and a Controller.
The reason we don’t have ControllerContext, is because a Mail can be sent via IHP scripts.
# Application/Helper/Controller.hs

redirectExample :: forall context. (?context :: context, ConfigProvider context) => Text
redirectExample = urlTo PostsAction
Then we can use it in the Mail.
    html ConfirmationMail { .. } = [hsx|
        Hey {user.name}, <br/>
        <p>
            Thanks for signing up! Please confirm your account by following this link: ...
        </p>

        <p>
            <a href={redirectExample}>Click here to view all Posts</a>
         </p>
    |]
Sending Mails
From inside a controller or script, an email can be sent by using sendMail:
import IHP.Mail (sendMail)

action MyAction = do
    user <- fetch "..."
    sendMail ConfirmationMail { user }
Note that you need to explicitly import sendMail from IHP.Mail in your controller.
Custom Headers
If you need to send specific mail headers you can do so as well:
headers ConfirmationMail { .. } =
    [ ("X-Mailer", "mail4j 2.17.0")
    , ("In-Reply-To", "<123456@list.example.com>")
    ]
Implementation detail: IHP first adds headers set by itself (like Subject and the optional Reply-To), then headers provided via headers. If you don’t want to use the replyTo helper from above it’s absolutely fine to add the Reply-To header manually.
Mail Servers
You need to configure a mail server in your Config/Config.hs to send emails. IHP supports using your local sendmail, AWS Simple Email Service (SES), SendGrid (via Azure or directly), or any standard SMTP server.
Remember that the successful delivery of email largely depends on the from-domain allowing your mailserver by means of SPF and/or DKIM. Consult your chosen email server documentation for details.
Using Local Sendmail
The simplest configuration uses your local sendmail:
-- Config/Config.hs
import IHP.Mail.Types

config :: ConfigBuilder
config = do
    -- other options here, then add:
    option Sendmail
Using SMTP
-- Config/Config.hs
import IHP.Mail.Types

config :: ConfigBuilder
config = do
    -- other options here, then add:
    option $ SMTP
        { host = "smtp.myisp.com"
        , port = 2525
        , credentials = Nothing -- or: Just ("myusername","hunter2")
        , encryption = TLS -- <-- other options: `Unencrypted` or `STARTTLS`
        }
Set SMTP by Environment Variables
It’s a good idea to not hardcode your SMTP credentials in your code. Instead, you can use environment variables to set your SMTP credentials. This is especially useful when deploying your application to a cloud provider like AWS, where it will use different credentials in production than on your local machine.
Local SMTP with Mailhog
A convenient way to see sent mails is to use a local mail testing such as MailHog. This service will catch all outgoing emails, and show their HTML to you - which is handy while developing.
-
Make sure
sendmailis locally installed and configured. - Install MailHog.
- Enter the following Config.
- Start MailHog and open the link at http://0.0.0.0:8025/
- Send an email via your application, and see it in MailHog.
-- Config/Config.hs

-- Add these imports
import IHP.Mail.Types
import Network.Socket (PortNumber)
import IHP.EnvVar

config :: ConfigBuilder
config = do
    -- Previous options
    -- ...

    -- Read SMTP configuration from environment variables.
    smtpHost <- env @Text "SMTP_HOST"
    smtpPort <- env @PortNumber "SMTP_PORT"
    smtpEncryption <- env @SMTPEncryption "SMTP_ENCRYPTION"

    smtpUserMaybe <- envOrNothing "SMTP_USER"
    smtpPasswordMaybe <- envOrNothing "SMTP_PASSWORD"

    -- Determine if credentials are available and set SMTP configuration accordingly.
    let smtpCredentials = case (smtpUserMaybe, smtpPasswordMaybe) of
            (Just user, Just password) -> Just (user, password)
            _ -> Nothing

    -- Print out SMTP configuration for debugging purposes.
    liftIO $ putStrLn $ "SMTP HOST: " <> show smtpHost
    liftIO $ putStrLn $ "SMTP PORT: " <> show smtpPort

    -- SMTP to work with MailHog or other SMTP services.
    option $
        SMTP
            { host = cs smtpHost
            , port = smtpPort
            , credentials = smtpCredentials
            , encryption = smtpEncryption
            }
Then set the environment variables in your .envrc file:
# Add your env vars here
#
# E.g. export AWS_ACCESS_KEY_ID="XXXXX"
export SMTP_HOST="127.0.0.1" # On some computers may need `127.0.1.1` instead.
export SMTP_PORT="1025"
export SMTP_ENCRYPTION="Unencrypted"
Finally, when you’ll have the app deployed, for example on AWS using SES, you would have to set the environment variables in your flake.nix.
services.ihp = {
    domain = "...";
    migrations = ./Application/Migration;
    schema = ./Application/Schema.sql;
    fixtures = ./Application/Fixtures.sql;
    sessionSecret = "...";
    additionalEnvVars = {
        SMTP_HOST = "email-smtp.eu-west-1.amazonaws.com";
        SMTP_PORT = "587";
        SMTP_ENCRYPTION = "STARTTLS";
        SMTP_USER = "your-user-name";
        SMTP_PASSWORD = "your-password";
        ENV_NAME = "qa";
        AWS_ACCESS_KEY_ID = "your key ID";
        AWS_SECRET_ACCESS_KEY = "your secret";
    };
};
AWS SES
-- Config/Config.hs
import IHP.Mail.Types

config :: ConfigBuilder
config = do
    -- other options here, then add:
    option $ SES
        { accessKey = "YOUR AWS ACCESS KEY"
        , secretKey = "YOUR AWS SECRET KEY"
        , region = "eu-west-1" -- YOUR REGION
        }
SendGrid
-- Config/Config.hs
import IHP.Mail.Types

config :: ConfigBuilder
config = do
    -- other options here, then add:
    option $ SendGrid
        { apiKey = "YOUR SENDGRID API KEY"
        , category = Nothing -- or Just "mailcategory"
        }
Email Attachments
You can add file attachments by adding a attachments statement:
module Web.Mail.Users.Confirmation where
import Web.View.Prelude
import IHP.MailPrelude

data ConfirmationMail = ConfirmationMail { user :: User }

instance BuildMail ConfirmationMail where
    subject = "Subject"
    to ConfirmationMail { .. } = Address { addressName = Just "F L", addressEmail = "fname.lname@example.com" }
    from = "hi@example.com"
    html ConfirmationMail { .. } = [hsx|
        Hello World
    |]

    attachments ConfirmationMail { .. } = [
        MailAttachment { name = "attachment.xml", contentType = "application/xml", content = "<xml>...</xml>" }
    ]
Plain Text Emails
Every email should have a plain text version for people with reasonable mail clients. If you don’t specify one and only set the HTML content via html (see above), then IHP automatically creates a plain text version from you by stripping away all HTML tags. This is suboptimal.
The better option is to manually provide a useful plain text version of your emails:
text ConfirmationMail { .. } = cs [trimming|
    Hey ${userName},

    Thanks for signing up! Please confirm your account by following this link:
    https://....
|]
    where
        userName = user.name
Note a few differences to the html version here:
-
We use
[trimming| ... |]instead of[hsx| ... |]so we can’t use HSX’s inline Haskell like{user.userName}but have to live with simple substitution. Note the dollar sign in front of these substitutions:${userName}. -
The
[trimming||]quasiquoter takes care of removing the whitespace that our indentations introduced, which we don’t want in the actual emails. -
We use
csto convert the[Char]to the requiredTexttype.
